Continue to review and configure the options in Account and Settings.
Payments
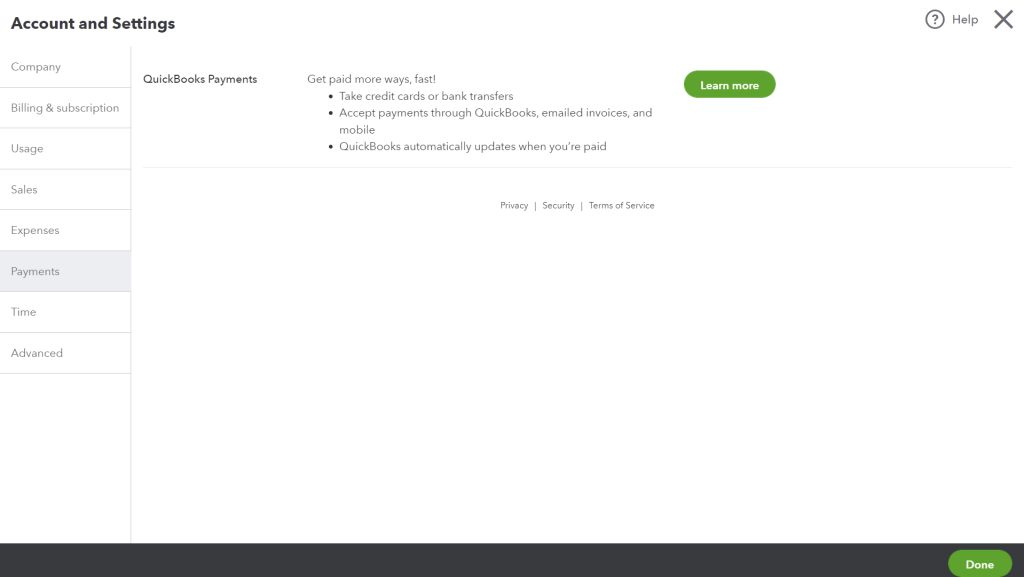
Turn on Payments, if appropriate.
If the client was signed up for a payments account that was connected to QuickBooks Desktop, you need to unlink the payments account from QuickBooks Desktop and then link it to QuickBooks Online.
Time
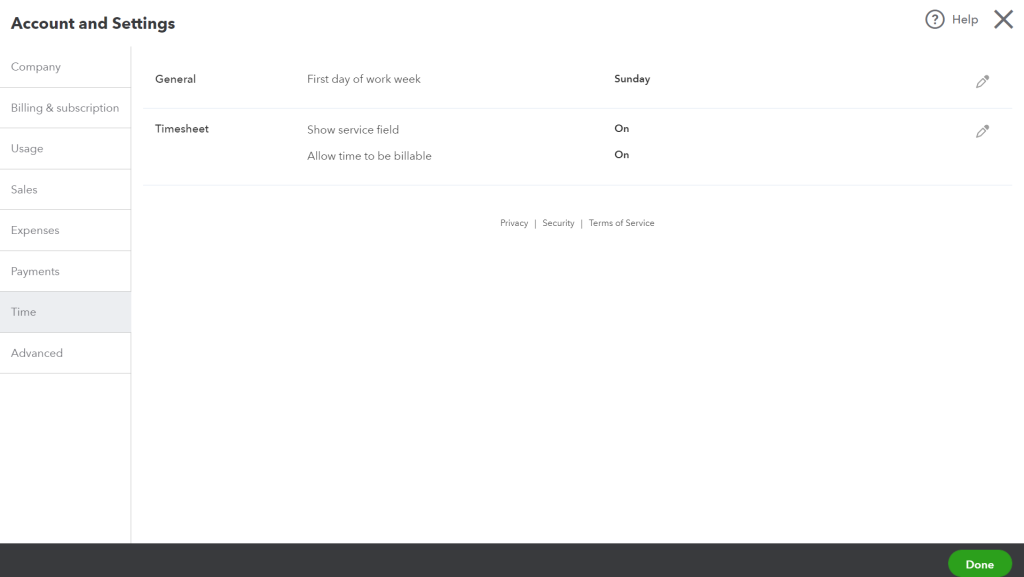
In the Time section, select the first day of the work week and decide whether to turn on/off the options to:
- Show service field
- Allow time to be billable
Advanced
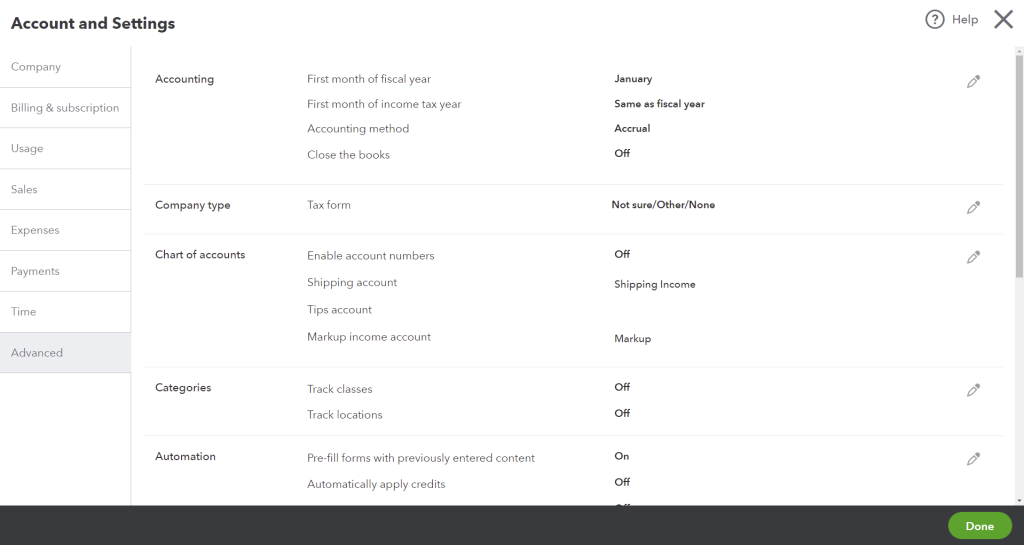
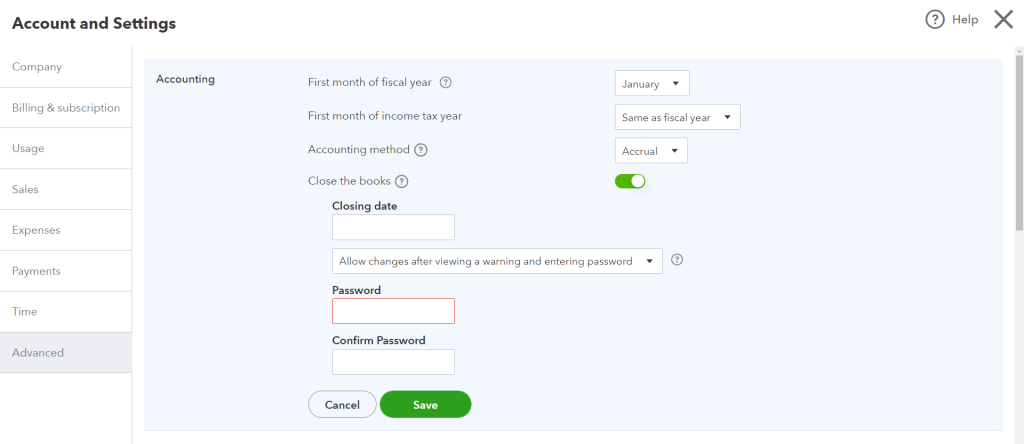
In the Accounting category, set the first month of the fiscal and income tax year and the accounting method.
Make sure that the Close the books feature is turned on. The closing date password doesn’t convert from QuickBooks Desktop, so—if the client was using one—select Allow changes after viewing a warning and entering password from the dropdown, then enter the password.
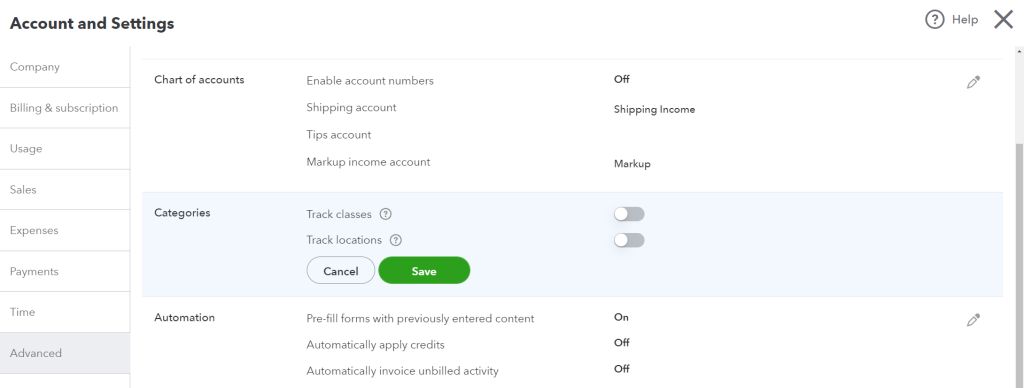
In the Chart of accounts section, configure the following:
- Enable account numbers, if appropriate
- Assign accounts to shipping, tips and/or markup income, as required

Under Categories, enable Track classes and/or locations, as per the settings in the QuickBooks Desktop file.
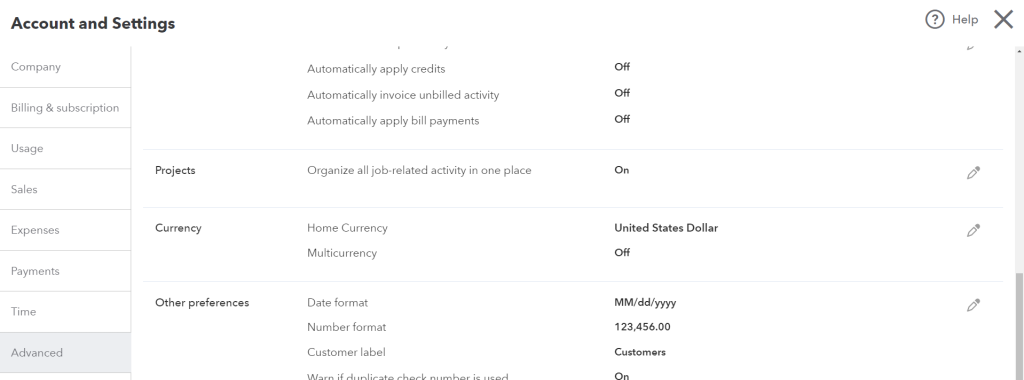
Decide what Automation features to use, if any.
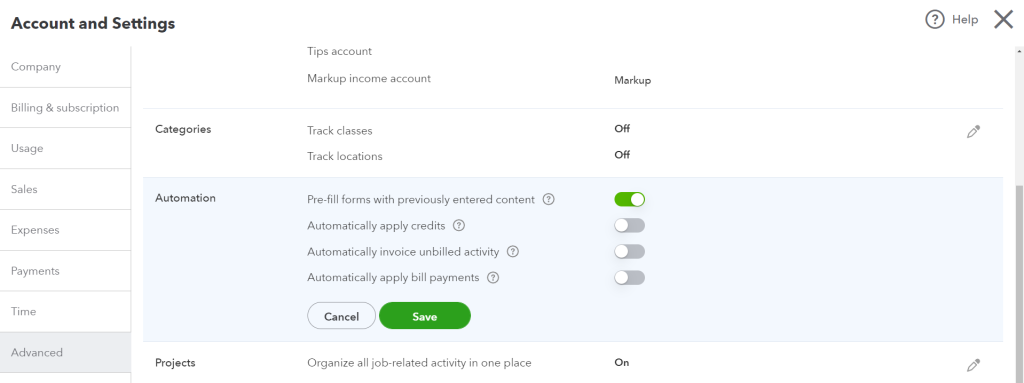
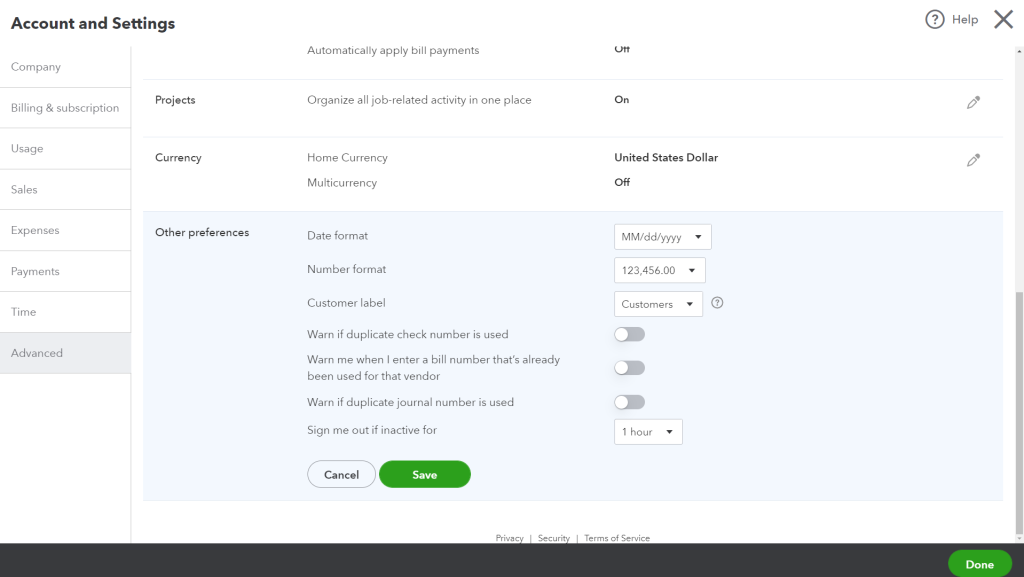
Turn on Projects if required.
Under Currency, enable Multicurrency if the client uses this feature.